· 4 min read
FFmpeg 8.0 (Part 2): How to use pad_cuda
Discover the power of FFmpeg 8 with our guide on using pad_cuda for enhanced video padding. Learn how FFmpeg 8 boosts performance!
FFmpeg 8.0 introduces a major performance boost with pad_cuda, an Nvidia GPU-accelerated padding filter that works with scale_cuda.
Padding and scaling are used for adjusting resolution and aspect ratio, such as converting a horizontal clip to a vertical one, which is particularly useful for platforms like TikTok, YouTube Shorts, and Instagram Reels.
Because these operations modify every pixel, they require full re-encoding, which makes them computationally expensive in FFmpeg. In this post, I will demonstrate how to use the new pad_cuda and the computational gain it introduces.
This post is part of a series of posts about the new FFmpeg 8.0 release:
- FFmpeg 8.0 (Part 1): Using Whisper for Native Video Transcription in FFmpeg
- FFmpeg 8.0 (Part 3): Failed attempts to use Vulkan for AV1 Encoding & VP9 Decoding
To install FFmpeg 8.0, follow the instructions for “How to install FFmpeg 8”. The setup used is a Windows 11 Lenovo laptop with Nvidia RTX 4060 - Driver version 581.29, CUDA version 13.0.
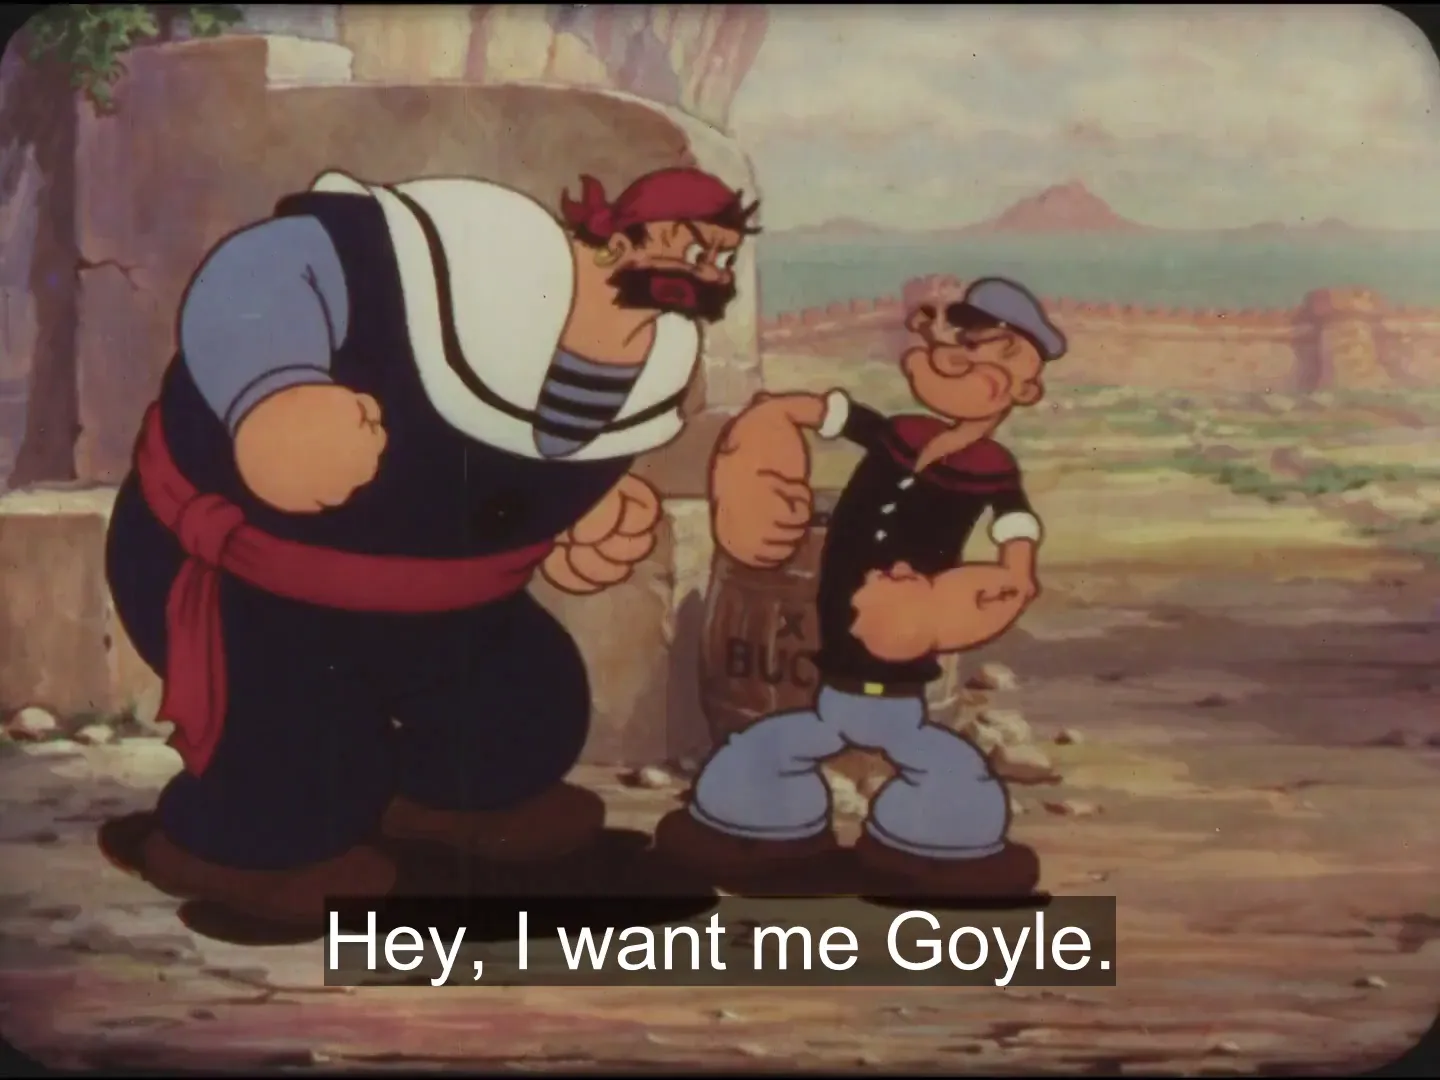
The following are two examples of how to convert a 1440x1080 Popeye talking video into a vertical video with padding, first using the old method (CPU encoding) and second using the new pad_cuda (GPU encoding) filter.
We can see the significant processing time improvement — running with the GPU is 3.5x faster than the CPU.
CPU encoding
$INPUT_FILE="popeye_talking.mp4"
$OUTPUT_FILE="output_resized_pad_cpu.mp4"

$SCALE_WIDTH="1080"
$SCALE_HEIGHT="1920"
$FORCE_ASPECT="decrease"
$PAD_WIDTH="1080"
$PAD_HEIGHT="1920"
$PAD_X="(ow-iw)/2"
$PAD_Y="(oh-ih)/2"
$PAD_COLOR="black"

$SAR="1:1"

$VIDEO_ENCODER="libx264"

./ffmpeg -i $INPUT_FILE -vf "scale=w='$SCALE_WIDTH':h='$SCALE_HEIGHT':force_original_aspect_ratio='$FORCE_ASPECT',pad='$PAD_WIDTH':'$PAD_HEIGHT':'$PAD_X':'$PAD_Y':color='$PAD_COLOR',setsar='$SAR'" -c:v $VIDEO_ENCODER $OUTPUT_FILE

....
time=00:00:20.91 bitrate=3285.0kbits/s speed=4.95x elapsed=0:00:04.22
GPU-CUDA encoding
$OUTPUT_FILE="output_resized_pad_cuda.mp4"

$VIDEO_ENCODER="h264_nvenc" # Changing to the Nvidia x264 encoder for GPU support

./ffmpeg -hwaccel cuda -hwaccel_output_format cuda -i $INPUT_FILE -vf "scale_cuda=w='$SCALE_WIDTH':h='$SCALE_HEIGHT':force_original_aspect_ratio='$FORCE_ASPECT',pad_cuda='$PAD_WIDTH':'$PAD_HEIGHT':'$PAD_X':'$PAD_Y':color='$PAD_COLOR',setsar='$SAR'" -c:v $VIDEO_ENCODER $OUTPUT_FILE

....
time=00:00:20.87 bitrate=2394.6kbits/s speed=16.1x elapsed=0:00:01.29
Note that it is not possible to run pad_cuda with scale (not CUDA), since both filters are running on the same hardware and need to be specified accordingly for the same hardware.
How the scale_cuda (and scale) filter works
The scale filter resizes the video to match a new width and height. In this example:
scale_cuda=w=1080:h=1920:force_original_aspect_ratio=decreaseThis resizes the video to fit within 1080×1920 without stretching. FFmpeg will automatically reduce one dimension to preserve the original aspect ratio. For example, a 1920×1080 video will be resized to 1080×810 before padding.
Helpful scale options
| Expression | Purpose |
|---|---|
scale=w=1080:h=-1 | Automatically calculates the height that preserves the aspect ratio, fitting inside a width of 1080 |
scale=w=1080:h=-2 | Like above, but forces dimensions divisible by 2 (required by many encoders) |
force_original_aspect_ratio=decrease | Ensures neither dimension exceeds the requested size while preserving the ratio |
force_original_aspect_ratio=increase | Expands the image to fill the requested size, then crops or pads as needed |
Note: You cannot use scale=w=-1:h=1920 here — FFmpeg would choose a width larger than 1080, which breaks the target output resolution.
How the pad_cuda (and pad) filter works in FFmpeg 8
After scaling, the video may not fill the target resolution completely. The pad filter centers the video and adds borders around it so the final output matches the desired dimensions.
pad=1080:1920:(ow-iw)/2:(oh-ih)/2:color=blackValues are width:height:x:y, where x:y is the top left corner.
This means:
| Parameter | Meaning |
|---|---|
1080:1920 | Final output resolution |
(ow-iw)/2:(oh-ih)/2 | ow is output width, iw is input width, and correspondingly to height. The original video’s top left corner will be placed such that the video is in the middle, and the padding is around it |
color=black | Border background color |
You can also use negative offsets for auto-centering for a similar effect:
pad=1080:1920:-1:-1:color=blacksetsar
setsar=1:1SAR = Sample Aspect Ratio. Setting it to 1:1 ensures pixel proportions remain correct and prevents stretched output. (1, 1.0, and 1/1 are equivalent.)
Encoding / Decoding parameters
libx264
A software H.264 encoder, a CPU-based encoder commonly used in FFmpeg commands.
h264_nvenc
NVIDIA’s H.264 encoder. It uses the GPU’s dedicated video encoding unit instead of the CPU’s general-purpose cores.
-hwaccel cuda
Enables GPU hardware acceleration using CUDA.
-hwaccel_output_format cuda
Keeps the decoded frames in GPU memory to avoid expensive CPU↔GPU memory copies.
Read more about scaling, padding, and encoding in our FFmpeg cheat sheet.